For the long-term protection of your home, it’s important to understand the many components that make up a roofing system. An ice and water shield is one of these parts. In chilly climates where ice built up is a concern, this unique roofing material helps shield homes from the elements.
Let’s delve into this blog post to learn a bit about ice and water shields and the role they play in protecting your roof.
What Is an Ice and Water Shield?
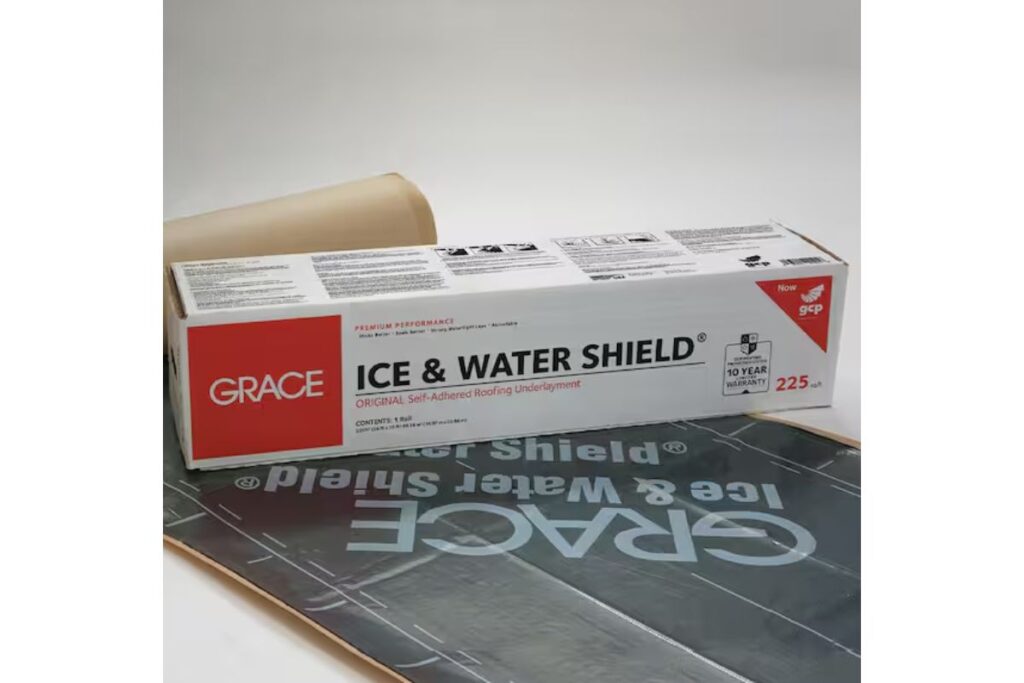
Simply put, an ice and water shield is a self-adhering, waterproof layer used in roofing. Made from rubberized asphalt or modified bitumen with a strong adhesive backing and a smooth upper surface, this material creates a watertight seal around nails and other fasteners, adding extra protection against water leaks.
Typically applied directly to the roof deck before installing shingles or other roofing materials, an ice and water shield is especially helpful in regions prone to ice dams or heavy rain. The primary function of an ice and water shield is to protect vulnerable areas of the roof where water can accumulate, such as eaves, valleys, and around chimneys and vents. By acting as a barrier, it helps prevent leaks that can lead to significant water damage inside the home.
Ice and water shields provide an essential extra layer of protection for roofs, especially in challenging weather conditions, ensuring the longevity and effectiveness of your roofing system.
Types of Ice and Water Shields
1. Granular Surface Ice and Water Shield
This is the thinnest type, used mainly in roof valleys. Its sand-like surface creates a waterproof barrier that protects against leaks. It works well in milder climates with less snow buildup.
2. Smooth Surface Ice and Water Shield
Thicker and more robust, this type is ideal for low-slope roofs. It manages snow and water buildup effectively, offering better protection against leaks in areas with heavy rain or snow.
3. High Heat Ice and Water Shield
Recommended for metal roofs and premium systems like slate and cedar shake, this shield is made using non-sticky fibers. It accommodates metal’s expansion and contraction with temperature changes, making it suitable for extreme temperatures.
Also Read: Best Type Of Roof Underlayment For Asphalt Shingle Roof
Why You Need An Ice And Water Shield
1. Protects Against Water Damage
An ice and water shield is a waterproof layer that keeps your roof decking safe if water gets under your roofing materials. It creates a watertight barrier to prevent leaks and protect your home’s structure.
2. Prevents Ice Dams
In areas with heavy snow, an ice and water shield is crucial along the roof edges to stop leaks caused by ice dams. It helps prevent water from backing up under the shingles when ice dams form.
3. Covers Vulnerable Areas
Ice and water shields cover high-risk spots like roof valleys, around chimneys and vents, and along eaves and edges for extra leak protection.
4. Improves Resale Value
A well-protected roof can increase your home’s resale value. Potential buyers are more likely to invest in a home with superior protection against water damage. Installing an ice and water shield can boost market value and make your home more appealing to buyers.
5. Building Code Requirements
Many building codes require ice and water shields in specific roof areas like eaves and valleys. Following these regulations is important to avoid failed inspections and potential legal issues. Proper installation ensures your roof meets safety and quality standards.
6. Protects Against Wind-Driven Rain
In heavy storms, wind-driven rain can get through lifted or damaged shingles. Ice and water shields stick tightly to the roof deck, blocking water from entering through vulnerable spots. This is especially important in areas with severe weather.
7. Self-Sealing Properties
The shield sticks directly to the roof deck and self-seals around nail penetrations. This feature reduces leak risk, even in severe weather, by preventing water from seeping through gaps made by nails.
How To Install An Ice And Water Shield
Preparation
1. Materials and Tools Checklist
ITEMS NEEDED
- Ice and water shield
- Metal drip edge
- Utility knife
- Hammer or roofing nail gun
- Galvanized roofing nails
- Measuring tape
- Straight edge or chalk line
- Safety gear (gloves, goggles)
2. Prepare the Roof Deck
Ensure the roof deck is smooth, clean, dry, and securely nailed. For new construction projects, use exterior-grade plywood or OSB panels to build the roof deck. Ensure the boards have a minimum thickness of 3/8 inch for plywood or 7/16 inch for OSB. Avoid dimensional lumber to prevent buckling and warranty issues.
3. Install the Drip Edge
Place metal drip edges along the eaves. Position them directly on the deck with a slight overhang. Space nails about 12 inches apart.
Installation
4. Measure and Cut the Membrane
Cut the ice and water shield into 10 to 15-foot lengths for easier handling and application.
5. Position the Membrane
Align the membrane with the lower edge of the drip edge or eaves, allowing a 1/4 inch to 3/4 inch overhang. Secure the top edge with temporary fasteners.
6. Remove the Release Film
Lift the membrane’s lower half, remove the lower release film, and press the membrane firmly onto the deck. Remove temporary fasteners.
7. Complete the Installation
Fold down the top half, remove its release film, and press it firmly onto the deck. Overlap the top section over the lower by at least 6 inches, ensuring end laps are also 6 inches apart.
8. Overlap and Seal
Extend the shield at least 24 inches up the roof from the interior wall line to prevent water from penetrating during heavy snow or ice.
9. Install in Valleys and Ridges
Cut the membrane into 4 to 6-foot lengths for valleys. Start at the low point and work upwards, overlapping each sheet by at least 6 inches. Center and press each sheet, working from the center outwards.
Final Steps
10. Inspect and Adjust
Check the membrane for wrinkles or air pockets and make adjustments. Ensure all overlaps are secure.
11. Proceed with Shingle Installation
After installing the ice and water shield, continue with shingle or other roofing material installation, following the manufacturer’s guidelines.
Best Ice And Water Shield Brands
#1. CertainTeed Grace Vycor™ Ice & Water Shield®
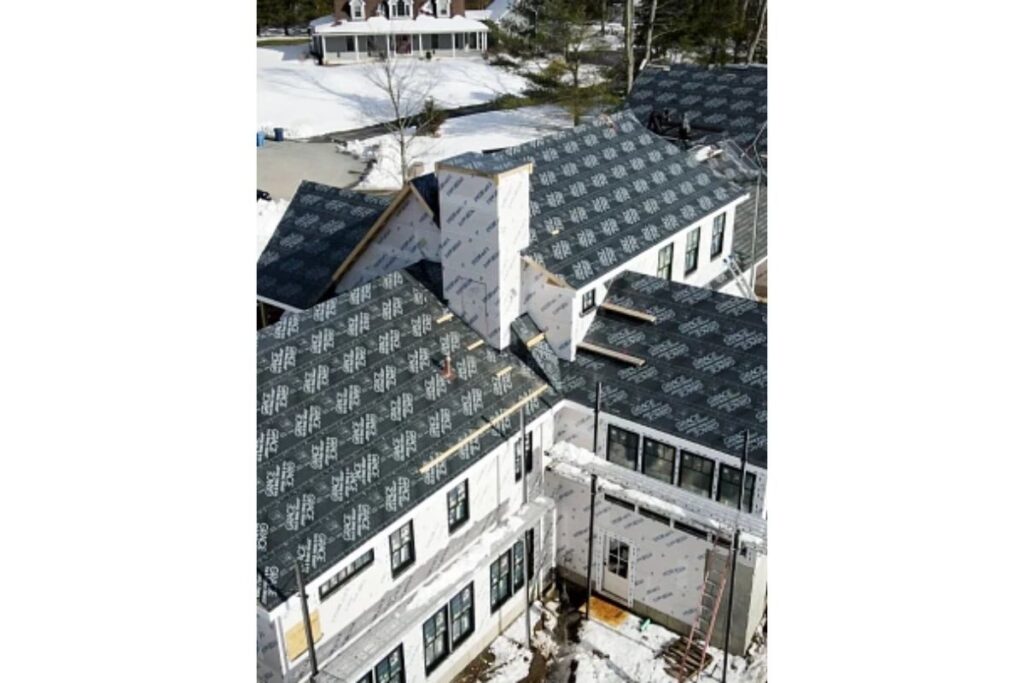
Source: certainteed.com
Grace Vycor Ice & Water Shield is a top self-adhered roofing underlayment. It features a strong rubberized asphalt adhesive and a slip-resistant film for secure bonding and leak prevention. Easy to apply with foldless release paper and RIPCORD®, it has been a top choice for 45 years for sealing around fasteners and providing reliable protection.
#2. Grace Ice & Water Shield®
Next is the Grace Ice & Water Shield, a top self-adhering roofing underlayment with a rubberized asphalt adhesive and slip-resistant surface. It offers easy installation, superior protection against snow, ice, and water damage, and has been used around the world. Ideal for both new projects and repairs, it provides reliable, long-lasting roofing protection.
#3. Atlas WeatherMaster® Pro-Grade Ice & Water Underlayment
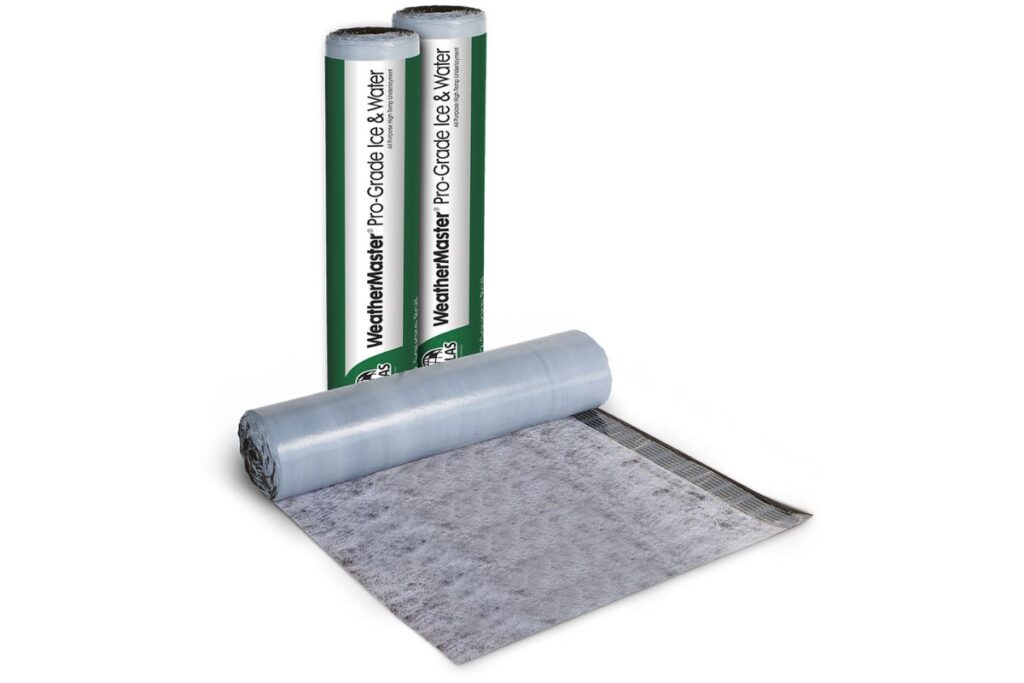
WeatherMaster Pro-Grade Ice & Water Underlayment by Atlas is another high-quality, self-adhesive underlayment that seals around nails and offers strong protection against moisture, UV, and harsh weather. Its durable, slip-resistant surface makes it ideal for various roofing applications.
How To Calculate What Size Ice And Water Shield You Need
Measure Eave Length: Find the length of the eaves.
Determine Eave Overhang: Check how far the roof extends past the exterior wall.
Check Roof Pitch: Measure the roof’s slope.
Include Wall Thickness: Account for the thickness of the exterior walls.
The general calculation for ice and water shield coverage is: Eave Length x 6
For example, if your eave length is 150 feet, you’ll need about 900 square feet of ice and water shield coverage (150 × 6).
Is An Ice And Water Shield Required By Code?
The International Building Code (IBC) section 1507.1.2 requires ice barriers where ice might cause water backup. The barrier must be either two layers of glued underlayment or a self-adhering bitumen sheet, extending 24 inches inside the wall line. Detached structures without heated floors are exempt.
Conclusion
Ice and water shields are essential for preventing ice dams and water damage. While not always necessary, it’s a wise investment for homeowners in cold climates seeking extra protection. If you’re uncertain about whether you need to install one, consult a local roofing expert.
Rely on All Around Roofing, Siding & Gutters for excellent roofing services. For all of your roofing needs, including replacements and repairs, we provide professional solutions. To get the best roofing results, call us at (937) 902-2839.

